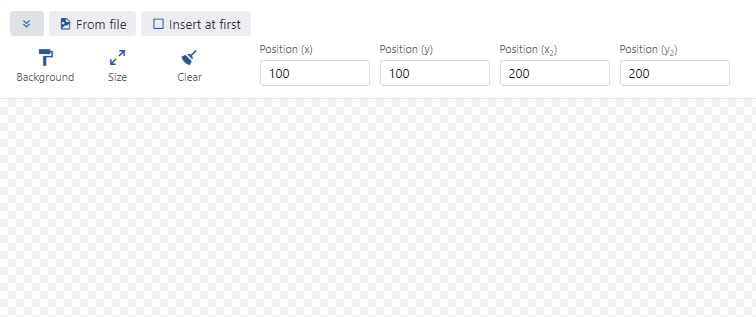
This allows you to model entire applications yourself. Simply add a PowerPoint slide or any image to your process using copy & paste. To open the Create menu, hover the mouse pointer over the button. In this chapter we explain the functions of each selection option.


This chapter describes this Create button.
1. Create Overview
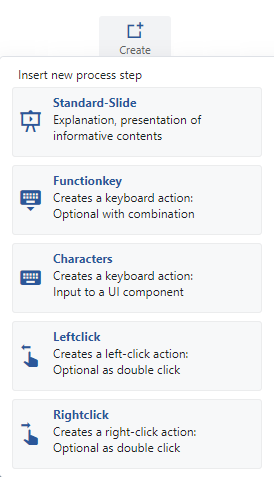

The first part of the menu
The second part of the menu
2. Slide Types & Features
2.1 Standard Folie

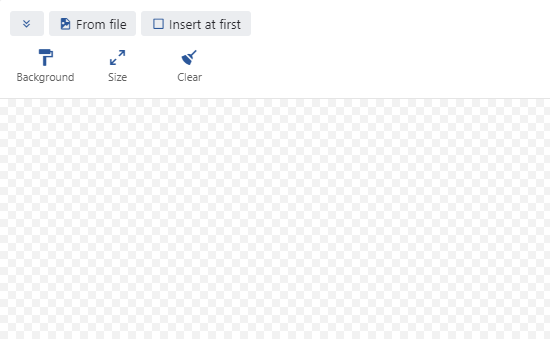
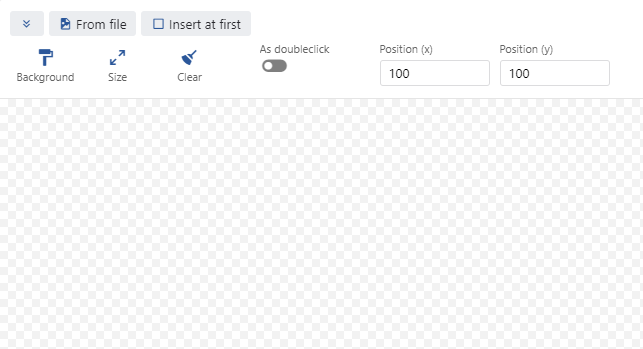
By clicking on standard slide you get a modal as shown in this screenshot. This slide is comparable to PowerPoint and is therefore a very powerful addition to a process. Animations, time controls and much more. you can do this with this.
1.) You can upload an image file by clicking the “From File” button or pasting an image from the clipboard with CTRL+V.
2.) You can optionally check Attach at the beginning to attach this image as the first step in this process.
3.) Formatting options such as background, size or clear could be applied here.
2.2 Function key

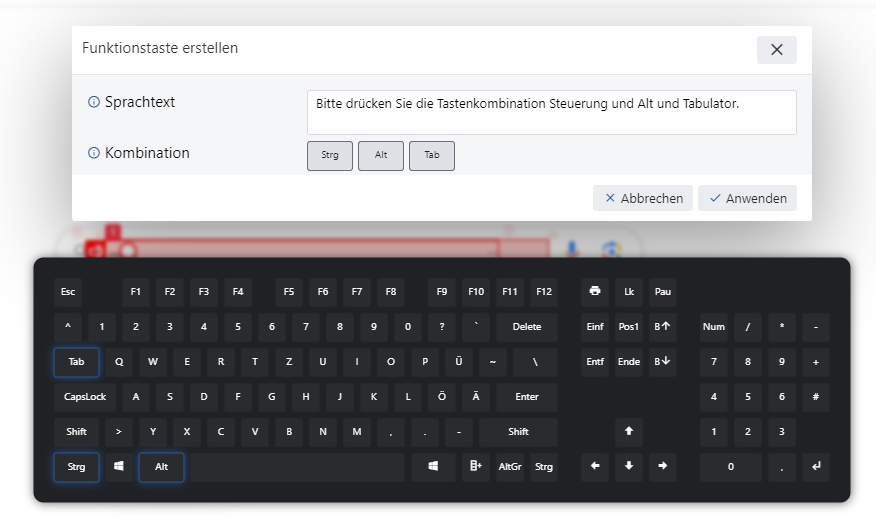
You can add any keyboard combination to your process using the function key. The selected keys are displayed in the visual representation. Confirm your entry with the “Apply” button.
2.3 Character input

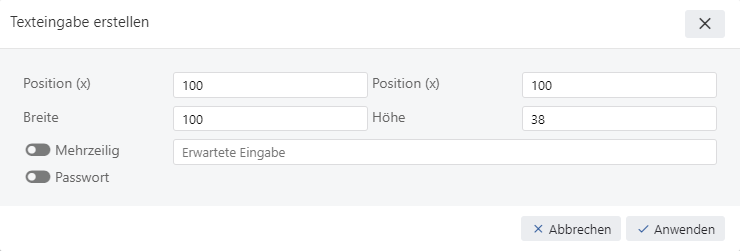
You have 3 different options for entering characters:
1.) Single Line Input: You can add one line.
2.) Multi-line input: If you activate the Multi-line slider, you can insert as many lines as you want.
3.) Password input: This slider can be activated to define an input as a password, which is displayed anonymously.
2.4 Click Insert


These 3 click simulations have the same window and the options remain the same.
2.5 Drag & Drop Insert


These 3 drag and drop simulations have the same window and the options remain the same.
