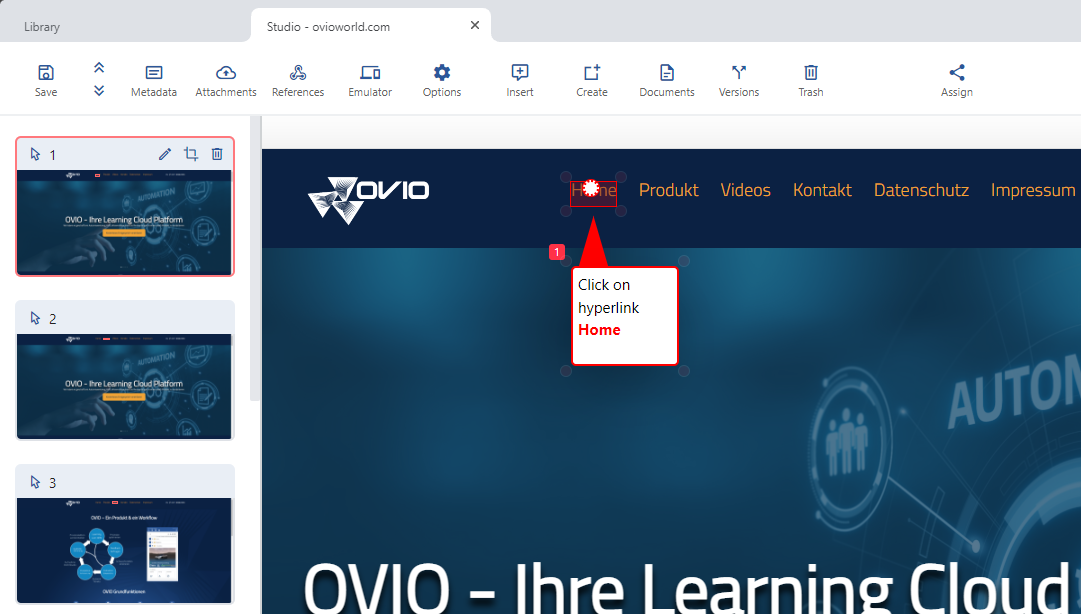
There are many functions for editing processes in the EPSS Studio. In this chapter, we will limit ourselves to the overview and divide it into the individual sub-areas with their own chapter. For the authors, this is the heart of OVIO – all recordings, editing and publishing are carried out by the EPSS.
1. Overview EPSS

General overview in EPSS editing mode
2. Sub-Areas
2.1 Preview steps

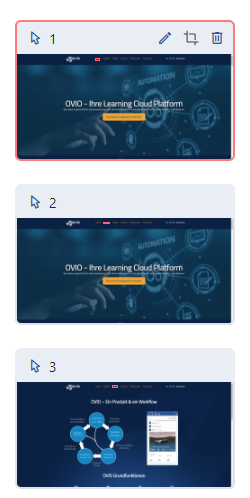
The overview on the left-hand side of the editing mode provides navigation to the next steps. Here you can click on the desired screenshot to navigate to this step and edit it.
The screenshot with the red border is the currently selected step. The control bar above each selected screenshot shows you which type of step it is and the sequence number.
Then there are 3 icons on the right side:
1) Edit: This allows you to destructively edit the screenshot
2) Crop documentation: With this function you can define an area that you want to display in the documentation.
3) Delete: This moves this step to the recycle bin and removes it from this process. If necessary, it can be restored and is not permanently deleted.
2.2 Workplace

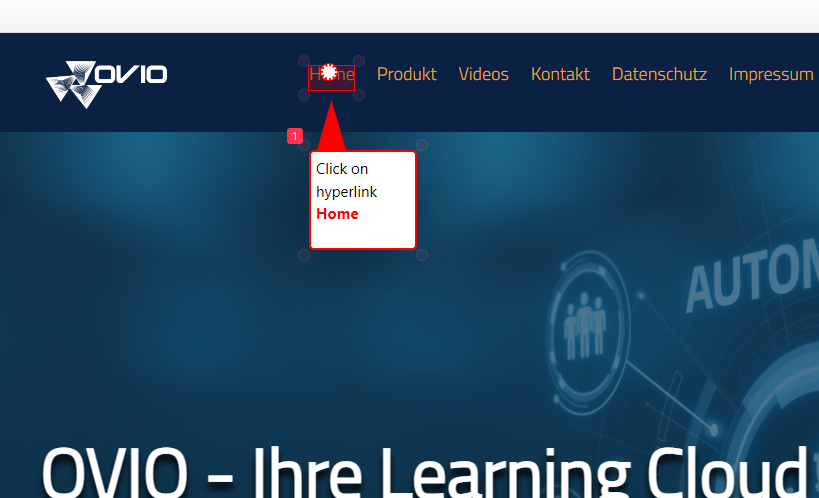
The view window is the largest area in edit mode where you can perform all the actions available in the top toolbar. These are addressed once in the next section and described in detail in the following chapters.
2.3 Toolbar

This function bar is very powerful and contains all the functions you need to process the individual steps.

The Save button is used to save the process at any time.

The metadata button is used to customize the display in the search results.

This Attachments button is used to attach any attachments to this process.

References to external URLs can be added with this function.

The emulator allows you to view the process in advance in all modes.

You can change various EPSS Studio settings under Options.

You can extend the process by adding further annotations.

You can use the Create button to make various additions to the process.

You can use the Documents button to generate or customize documentation.

This allows you to create a backup copy of the process and view the processing history.

If you have deleted something, you will find it here.

As soon as the process has been completed, you can assign it using this button.
We will explain this function bar and its individual functions in detail in the following chapters.
