In this section, we will look at the process view and its functions. These can be seen in the library under the respective application name and can be clicked on individually. If you select an individual process, you will see the status of the process. This includes an overview of the various modes, a version history, a screenshot as a preview, documents and reference attachments as well as an analytical evaluation of the views on this process.

Icon in the Toolbar
1. Process Overview
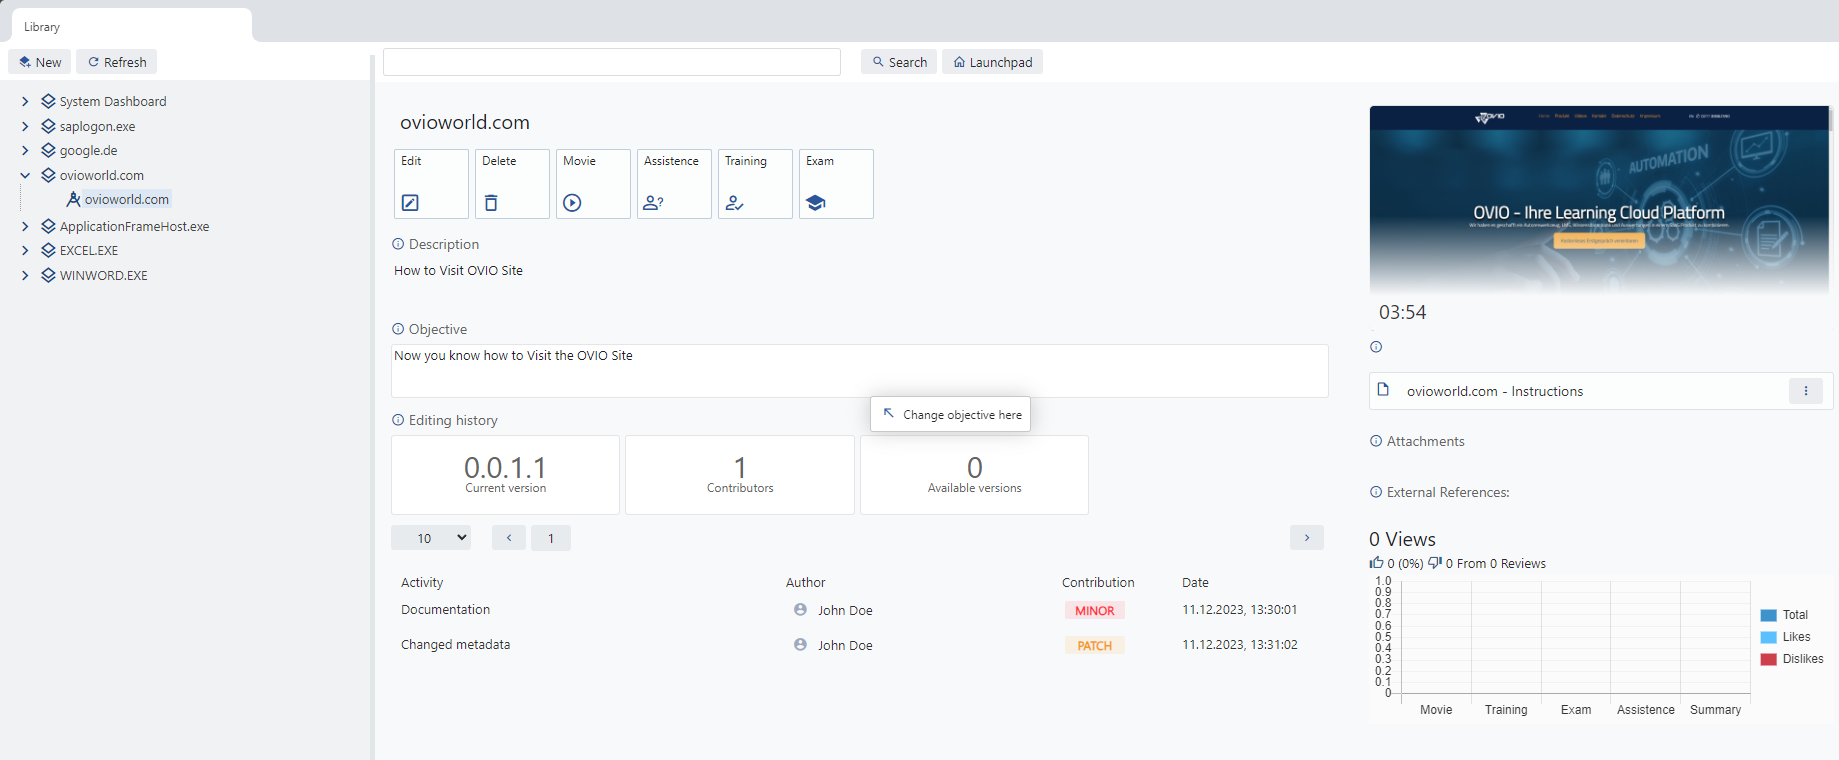
This is the view when you select a single process.
2. Sub-Areas
2.1 Tree structure
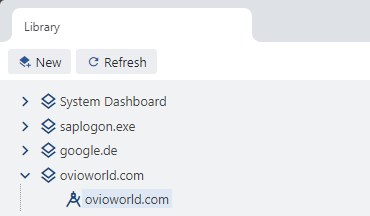
In the library, you can open the desired application and click on the individual process to obtain detailed information about it.
2.2 Process search bar
At the top center there is the option to search for processes or contexts. By clicking on Overview you can return to the overall evaluations at any time.
2.3 Control bar

Edit: This tile allows you to edit the selected process and navigates you to the EPSS Studio.
Delete: This tile allows you to permanently delete the process.
Movie: This simulation offers the employee the opportunity to view the entire process in a simulated movie. This combines a visual representation and spoken text, which explains the process to the user.
Training: As the word suggests, the user can train himself by using this mode. This only makes sense if the “Movie” mode has already been viewed.
Exam: The test mode is the test to see whether the user has paid attention correctly in the previously completed Movie & Training mode. At the end of the test, a result is generated which is only displayed once for the employee. In future, a certificate will be created after successful completion and stored in the employee’s profile.
Assistance: The assistance offers the user the possibility to receive a self-controlled simulation parallel to the real application. They only have to follow the step-by-step instructions to reach their destination.
2.4 Description and Objectives
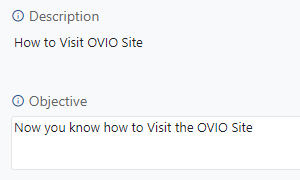
The description and objective can be customized as desired in the EPSS Studio.
A. Description: Describe the process so that the employee knows what is shown in this process.
B. Objective: Describe in this field what should be achieved at the end of the process.
2.5 Versioning

The editing history shows exactly which author changed what and when.
Various data is recorded for this purpose:
1) Current version this is made up of various sections.
2) Number of contributors: How many authors have contributed to this process
3) Available versions: This field shows how many backups there are of this process.
Below these fields there is a table with a detailed breakdown:
1) Activity: What was changed in the process
2) Author: Who changed it
3) Contribution: How serious this change was
4) Date: The time when this change took place
2.6 Preview area, Attachments & References
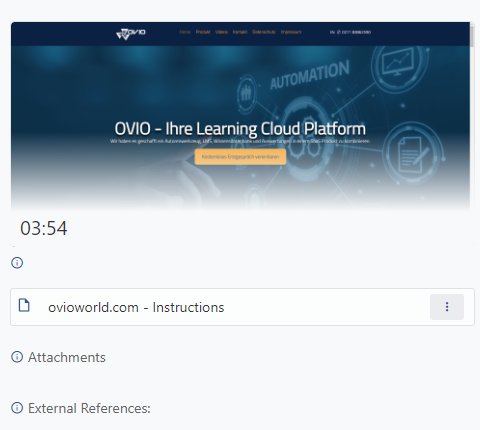
On the right-hand side, you will find an overview of what the process looks like based on a screenshot. This data can also be freely selected and defined in the metadata.
Below this you will find 3 areas:
1) Documentation: If an author has created documentation in EPPS Studio, this will be visible here.
2) File attachments: Here you will find all relevant attachments that could belong to this process.
3) External references: The author can store links and redirects to other websites here.
2.7 Statistics
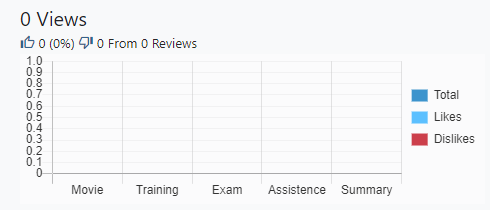
Finally, you have the statistics for this process in the bottom right-hand corner. This is divided into the individual modes and is displayed in a bar chart.
