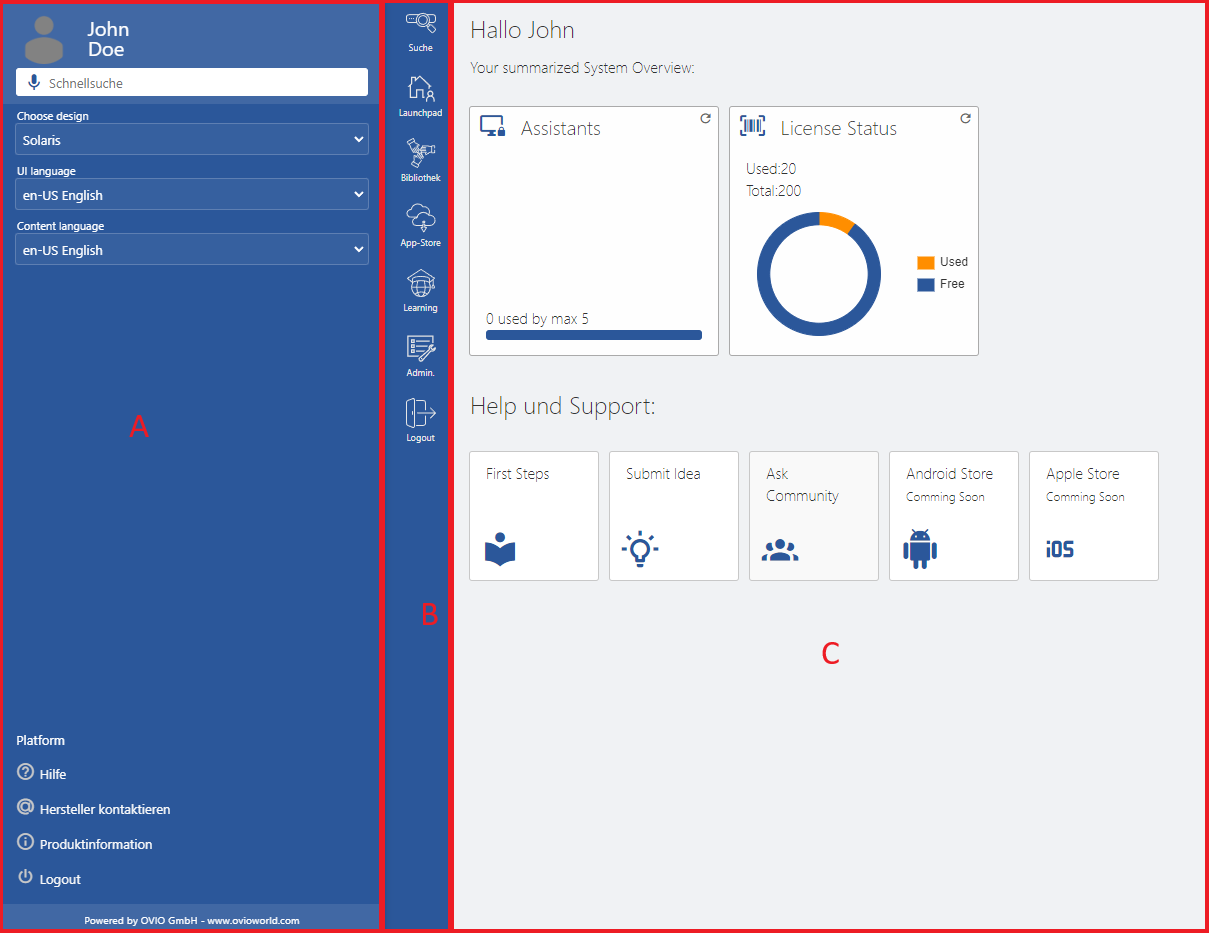
In this chapter, we will explain the start page with all the buttons and basic functions. This view is divided into several areas and may vary depending on your authorizations.
1. Sub-Sections

The OVIO Cloud interface consists of 3 sections:
A. Search / Profile settings / Platform
B. Function bar for the various role-based areas
C. Workplace / Results
2. Area A : profile settings / search / help

Area A-1 the search: In this search field, you can search for, find and open all shared content that corresponds to your roles.

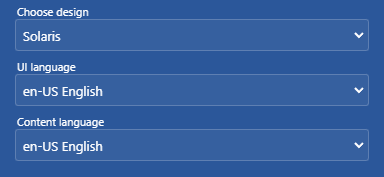
Area A-2 Profile customizations: There are a few functions here that can be changed individually by each employee.
Here is an explanation of the individual areas:
Choose design: This determines the appearance of the application these changes are also applied in the wizard.
UI language: This refers to the display language in all buttons on the web and wizards.
Content language: The selected language defines the library language.
Please note that if you have the EPSS author role, recorded projects are also stored in this library.

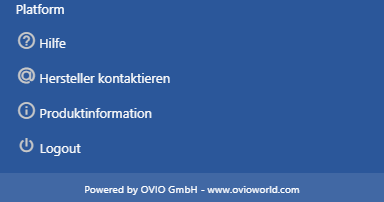
Area A-3 Platform: This area is located at the bottom left of the view.
There are a few important links for you here:
Help: This link will automatically redirect you to this help page.
Contact manufacturer: Displays the OVIO support phone number.
Product information: Displays the current version number of the OVIO Cloud.
Logout: Use this button to log out of the web interface.
3. Area B : Toolbar

This function folds the search bar in and out.

Here you get an overview of your registered assistants.

As an author, you can view and edit all processes and context projects in the library.

This section allows you to download the Assistant.

This is the OVIO internal LMS system where all assigned processes, tasks and certificates are stored.

For the administrators there is this area in which several settings and standards can be set.

This must not be missing in any platform hereby you can log out.
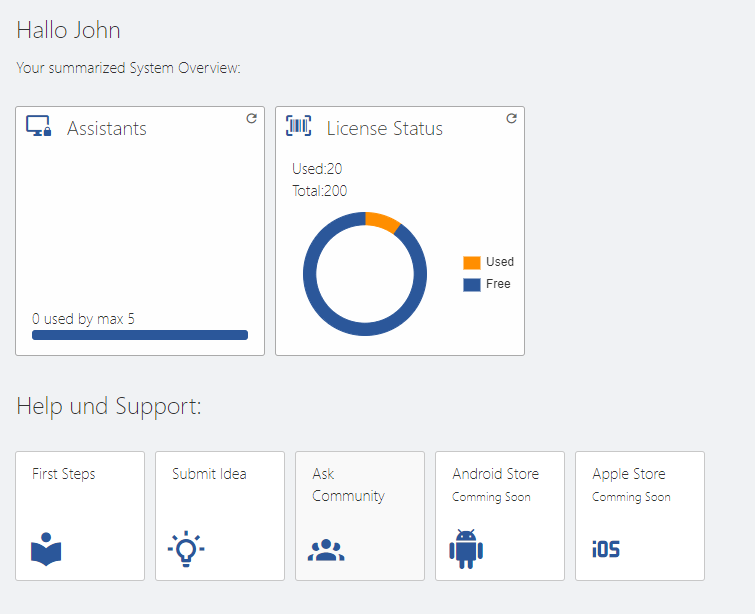
4. Area C : Workplace / Results

Depending on the action selected in the Tollbar, this screen changes and additional functions become visible. In this example, we have an overview of the launchpad.
