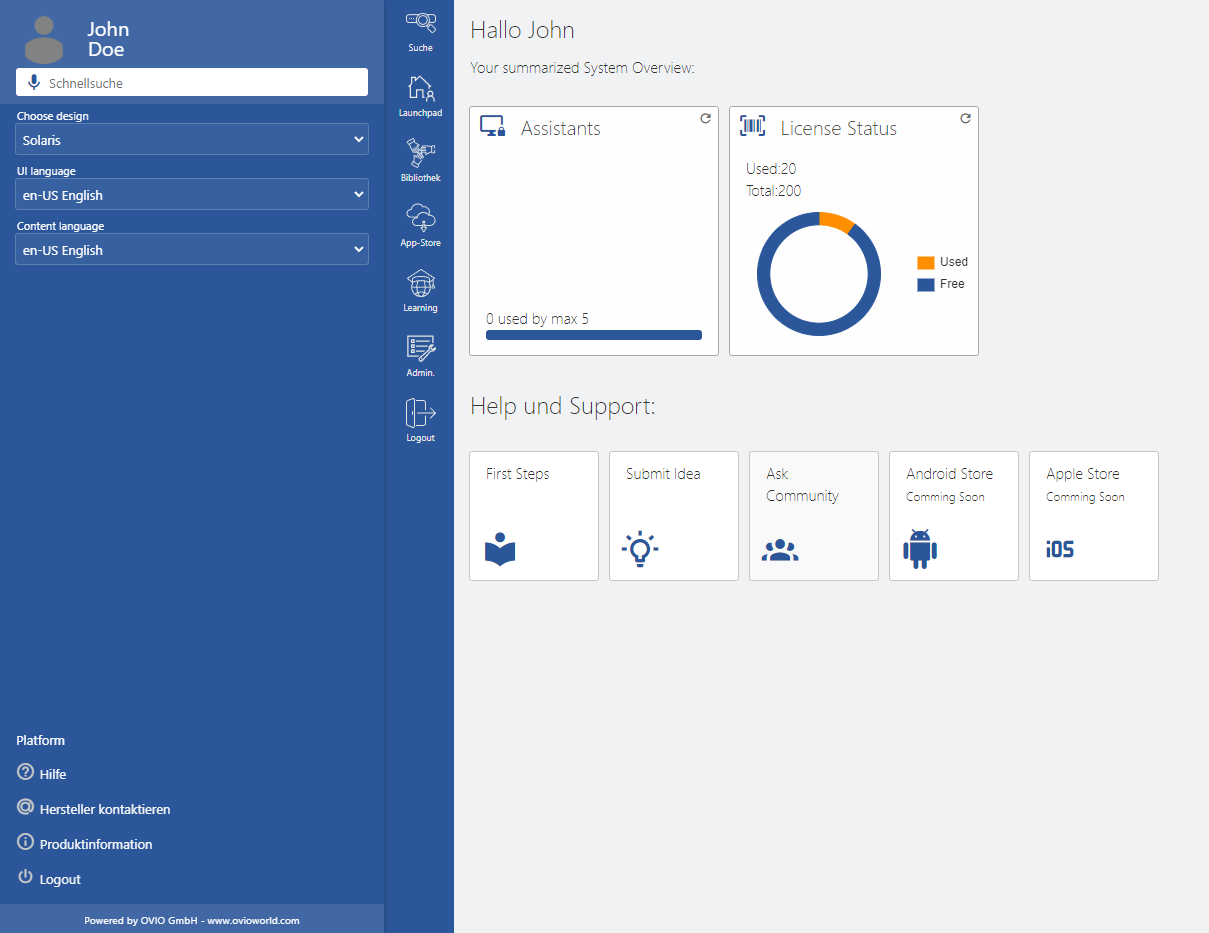
In this chapter, we will explain how to log in to the web interface. This is the first step so that you can start using the OVIO Cloud.
1. OVIO Login
First navigate to the OVIO URL, making sure that the URL supplied is entered correctly.
This is composed as follows:
https://subdomain.domain.com/?c=application
It is very important that the extension is entered correctly so that our security system can issue the correct cookies. If this URL is not entered correctly, you will simply get a white page and the call will be rejected.

Step 1: Enter static login user name then confirm the entry with the ENTER key.
Alternatively, you can log in with SSO if your IT department has set up this function. As you can see in this screenshot, you can click on “Continue with Microsoft” to continue the login process through your company’s internal AD / IDP. During this process, your user account is automatically created and sorted into the correct groups.

Step 2: Enter the password of the static user and confirm the entry with the ENTER button to log in. After successful authentication, you will land on the OVIO web start page.

Conclusion: You are now logged in to the web interface. The modules and search results are based on your assigned authorizations and group memberships.
